More people have been working from home in the past two years than ever before. For some, working from home has been an ideal outcome; for others, it has been a point of frustration.
Some don’t like working from home as there is no transition from ‘home mode’ to ‘work mode’. This means it can be hard not to become distracted by personal chores while working, and it is difficult to stop thinking about work once clocked off for the day.
With a shipping container office separate from the main home, there is a clear moment when an individual working from home can switch their mindset.
3 Things to Consider Before Building a Shipping Container Office
Before you start organising for your shipping container office, there are a few things worth investigating to ensure a shipping container office is the right solution for you.
1. How Large Do You Want the Shipping Container Office to Be?
It is important to consider how big you want your shipping container home office to be and if you have enough space.
If there is not enough room for a full-sized shipping container on your property, many companies offer smaller shipping container sizes, or modified containers.
If there is enough room on your property, check that there is sufficient space for all doors and windows needed for access points to open without obstruction.
2. Are There Any Local Permits You Have to Apply For?
A permanent structure will require council approval. It is important that your plans meet all of the local council’s size and structural integrity requirements. In many suburbs, the local planning department will need to sign off on your project before you can begin construction.
So, enquire with your local council before starting the process; otherwise, you may get an unexpected visit from building inspectors.
3. How Will You Get the Shipping Container into Your Yard?
Once you have selected the size of your shipping container office, it is time to figure out how you will get it onto your property.
If you don’t have enough room on your property for a truck to drive around and drop off your shipping container, you will need to utilise a crane. Before delivery is confirmed with the transfer company, ensure there are no powerlines or light poles that would interfere with lifting the sea container over your home.
6 Steps to Building Shipping Container Offices

Modifying shipping containers can be a difficult task – and can end up expensive if you don’t know the tricks of the trade. If you’re inexperienced, not only can engaging a reputable company to do the job for you save you a whole lot of time and effort, but it could also work out cheaper.
Even if you are set on renovating the shipping container yourself, having a company at least carve holes in the shipping container for windows and doors can save you money on specialist tools.
Here are our suggested steps to work through while undergoing your renovation project:
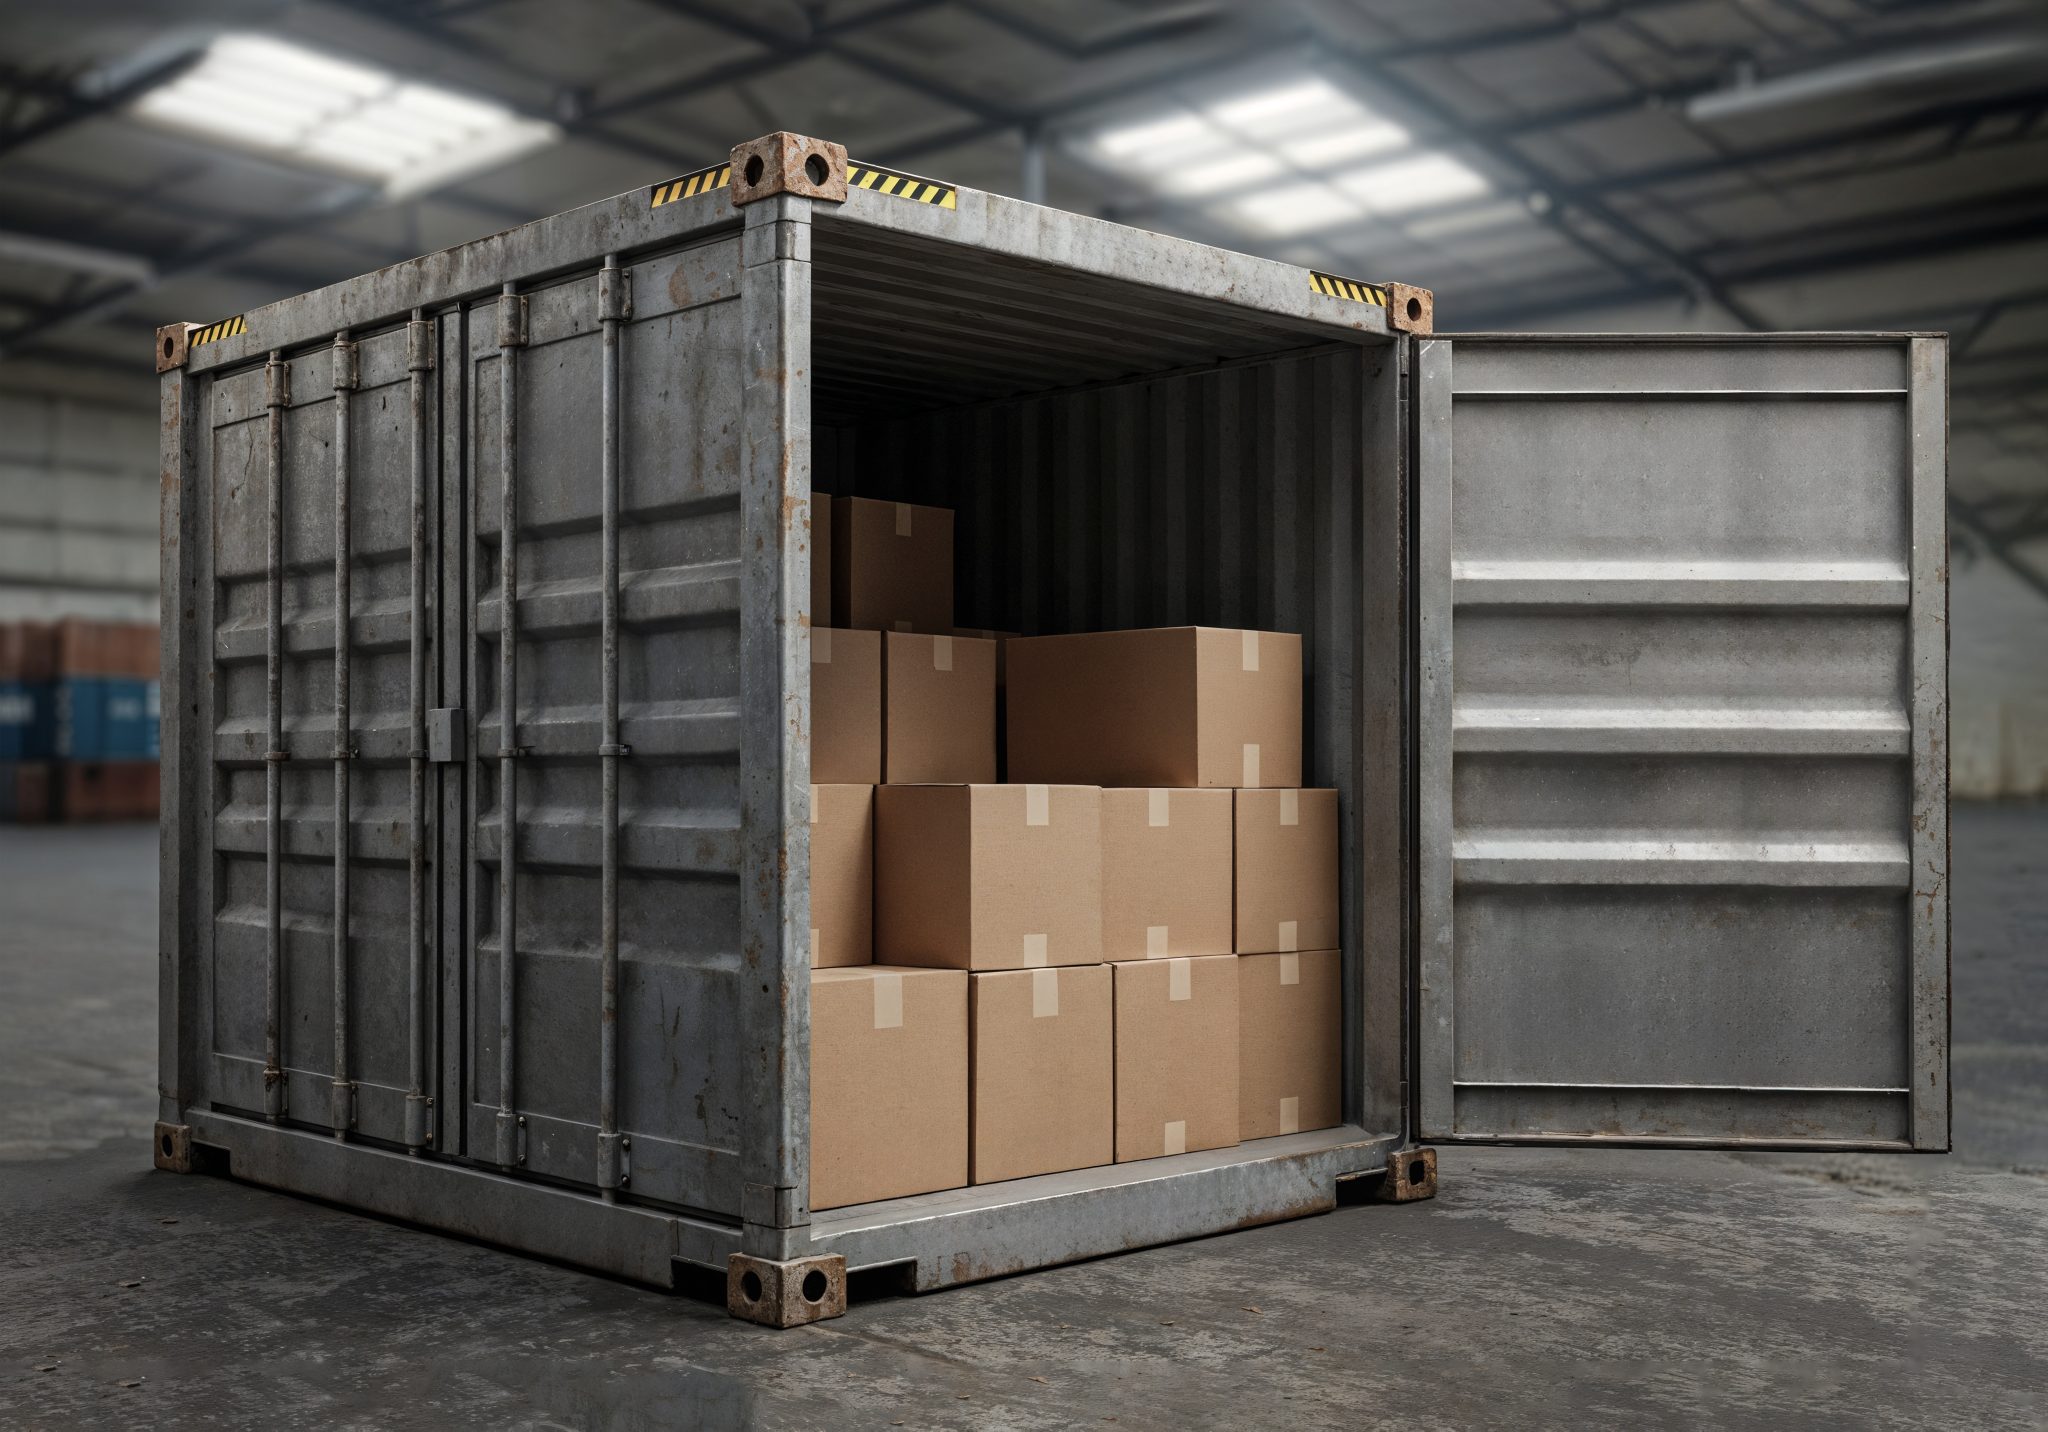
1. Source Your Shipping Container
Once you have confirmed a shipping container office is what you want and your plans comply with the local governance, it’s time to source your shipping container.
Shipping containers go through a lot in their life span. So, if you plan to purchase a used container, ensure it hasn’t been used to store hazardous chemicals, as they may have contaminated the used shipping container. Also, make sure it’s not damaged and is still fully waterproof.
When deciding who to purchase through, consider whether or not the company also offers transport services. Communicating with one company, as opposed to several, can save a lot of hassle.
2. Prepare for the Shipping Container Delivery
Once you have sourced your shipping container, you need to prepare the shipping container’s foundation.
When preparing the foundation, consider how long you want it to stay on your property and the climate of your location. If a stable foundation is not created, the shipping container could slide.
Learn more about preparing for a shipping container delivery.
3. Modify the Shipping Container to Your Liking
Once the shipping container has been delivered to your property, you can begin making modifications.
1. Plan the Layout of Your Shipping Container
We recommend starting by planning the layout of your new shipping container office to ensure you set enough room for all your required doors, windows, draws, and shelving.
Also, note where you would like to have electrical plugs, switches, lights, and air conditioning units.
2. Carve Out Holes in Your Shipping Container
Now you know the layout of your shipping container, the carving out holes for any necessary doorways and windows can begin! Be sure to wear protective equipment like goggles before using power tools around metal, as shards can fly off when cut through metal.
3. Weld the Window and Door Openings
Doors and windows would be tricky to install on a shipping container with jagged edges. To make their installation easier, weld flat metal strips along each of the openings to which the doors and windows will be attached.
4. Install Windows and Doors
Now you have somewhere to attach your windows and doors, go ahead and install them according to their model and available attachments.
4. Insulate the Shipping Container
Adding insulation to your shipping container will help maintain the shipping container’s temperature. We recommend a professional contractor completes this step as some insulations can contain chemicals that are harmful if inhaled or ingested.
The two most popular forms of insulation for shipping containers are spray foam insulation and foam insulation.
Foam Insulation
Standard foam insulation sheets have been the norm for many years.
Its benefits include:
- Easy to install
- Easy to remove if undergoing renovations
Spray Foam Insulation
While spray insulation is more expensive than regular insulation, it has many benefits, including:
- Creates a higher air barrier
- It won’t sag or breakdown over time
- Includes soundproofing qualities
5. Install the Electrical System and Air Conditioning
Now the modifications are complete, and the insulation is installed, it is time to install all the electrical components in the areas planned in the first step.
We highly recommend a licensed electrician completes this step for you to avoid any possible injuries.
6. Install Walls, Floors, and Ceiling
Many DIY options are available for installing walls, floors, and the ceiling, which make this step very easy to do on your own.
- Start by installing plasterboards across all of the walls and ceiling.
- Then, in the plasterboard cracks, apply a smooth layer of joint filler, wait five hours, and apply another layer of joint filler and allow it to dry.
- Carefully sand back any little bumps in the filler, then it is time to paint your new walls and ceiling.
- Next, install the flooring. Consider using slat wood flooring as it is the easiest to install on your own.
- To make the shipping container look professionally finished, use skirting to hide any gaps between the ceiling, walls, and floors.
7. Decorate Your Shipping Container

Finally, your shipping container’s structure has come together, and it is time to decorate! First, bring in all the larger items like your desk and office chairs, then you can begin to add personal touches such as shelving, pictures, plants, or anything else that inspires you.
Purchase a Modified Shipping Container From U-Move
At U-Move, we supply both used and new shipping containers, which can be used for your new home office.
However, if you would like a shipping container office but don’t have the time to modify it yourself, at U-Move, we offer a range of modified shipping container offices. All our shipping containers can be custom modified to your exact requirements.
If you would like any more information on converting shipping containers or enquire about a custom shipping container from U-Move, please don’t hesitate to contact us on (08) 9459 8888 or fill in an online enquiry form.